Are you tired of bread recipes that take hours and need special skills? What if you could make authentic, rustic Italian bread easily?
Welcome to no-knead bread, a game-changer for home baking. This recipe brings Italy’s flavors to your kitchen. It’s perfect for those who love bread but don’t want to deal with hard techniques.
This artisan Italian bread is easy to make and full of flavor. It uses a no-knead method that’s easy for anyone. With just a Dutch oven and a few ingredients, you’ll get a bread that’s as good as bakery bread.
Table of Contents
Key Takeaways
- No-knead method simplifies bread making process
- Creates authentic rustic Italian bread at home
- Requires minimal ingredients and equipment
- Perfect for multiple culinary applications
- Achieves professional-quality crust and texture
- Adaptable recipe with flavor customization options
- Suitable for bakers of all skill levels
Understanding Artisan Italian Bread: A Traditional Delight

Artisanal italian bread is more than just food. It’s a piece of Italian culture and tradition. It shows the love and skill of making bread for generations.
What Makes Italian Bread “Artisan”
Italian bread is special because of a few things:
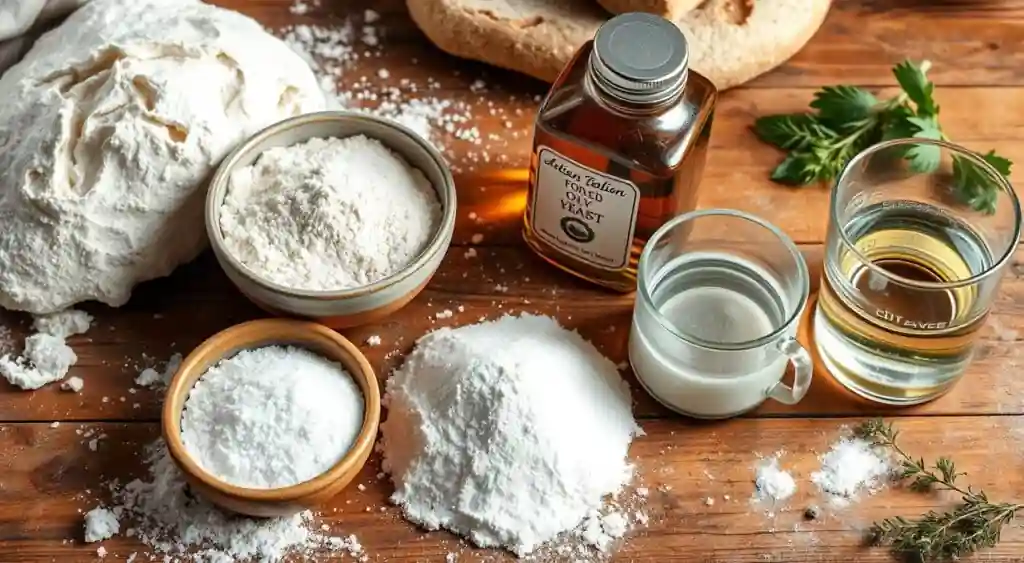
- It uses simple ingredients like flour, water, salt, and yeast.
- It’s made by hand, not machines.
- It ferments naturally, which adds flavor.
- It uses the best, local ingredients.
History and Cultural Significance
Italian bread has a long history, going back to ancient times. The Etruscans and Romans loved bread. In the Middle Ages, bread making became more specialized. Each area made its own bread, showing off local tastes.
“Bread is not just food in Italy; it’s a symbol of community, tradition, and hospitality.”
Key Characteristics of Authentic Italian Bread
Real Italian bread has some key features:
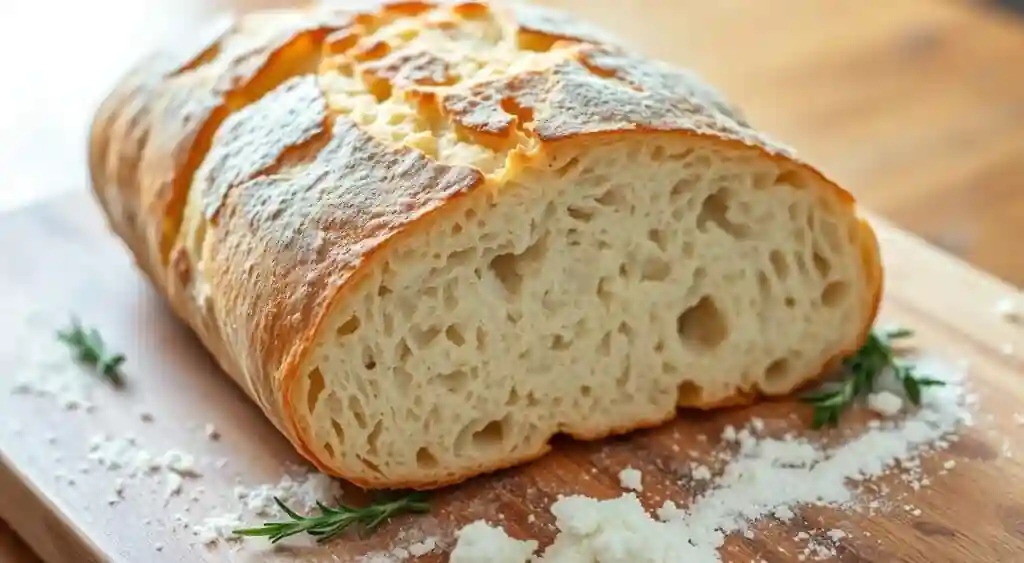
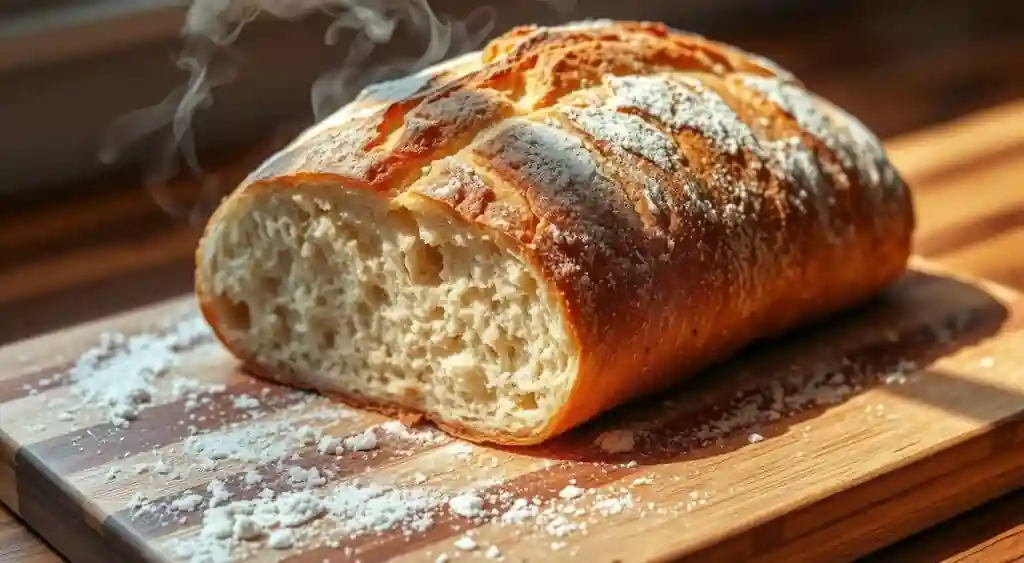
- It has a crispy outside and a soft inside.
- It tastes complex because of slow fermentation.
- It changes depending on the region, reflecting the unique flavors and techniques of each area.
Places like Tuscany and Sicily have their own breads. Each tells a story of culture and cooking skill.
Essential Ingredients for Perfect Crusty Italian Bread

Making authentic Italian bread is all about the right ingredients. These ingredients turn simple flour, water, and yeast into a masterpiece. Choosing high-quality ingredients is key to capturing the true taste of Italian bread.
Flour is the base of your bread. For authentic results, use Italian Type 00 and Type 0 flours. These have 11% to 13% protein, which is perfect for Italian bread.
“The secret to great bread lies in the quality of your ingredients” – Italian Bread Masters
Key Ingredients Breakdown
- Flour: High-protein wheat flour (Type 00 or Type 0)
- Yeast: Active dry yeast for bread making
- Salt: Coarse sea salt
- Water: Filtered or spring water
Active dry yeast is the best choice for bread. The water should be between 100°F to 110°F. This temperature is perfect for activating the yeast without harming it.
Flour Protein Content Matters
| Flour Type | Protein Content | Best Use |
|---|---|---|
| Type 00 | 11-13% | Bread Baking |
| Type 0 | 11-12% | Rustic Breads |
Pro tip: Always check the protein content when buying flour. Flour with lower protein is better for pasta or pastries. It won’t give you the crusty, chewy texture of Italian bread.
Required Tools and Equipment for Baking
Making perfect artisan Italian bread needs more than just great ingredients. Your baking equipment is key. Whether you’re new to baking or have lots of experience, the right tools are essential for tasty, crusty bread.

Professional bakers say the right equipment changes the game. Let’s look at the must-have tools for making delicious artisan bread.
Dutch Oven vs. Traditional Baking Methods
For dutch oven bread, you have two main choices:
- Traditional cast-iron Dutch oven
- Enameled Dutch oven with tight-fitting lid
- Heavy ceramic baking vessel
Temperature Control and Measurement Tools
| Tool | Purpose | Recommended Specification |
|---|---|---|
| Digital Thermometer | Monitoring dough temperature | Range of 24-26°C (75-79°F) |
| Digital Scale | Precise ingredient measurement | Measures metric and imperial units |
| Oven Thermometer | Accurate oven temperature | Analog or digital options |
Mixing and Preparation Equipment
Your tools should include:
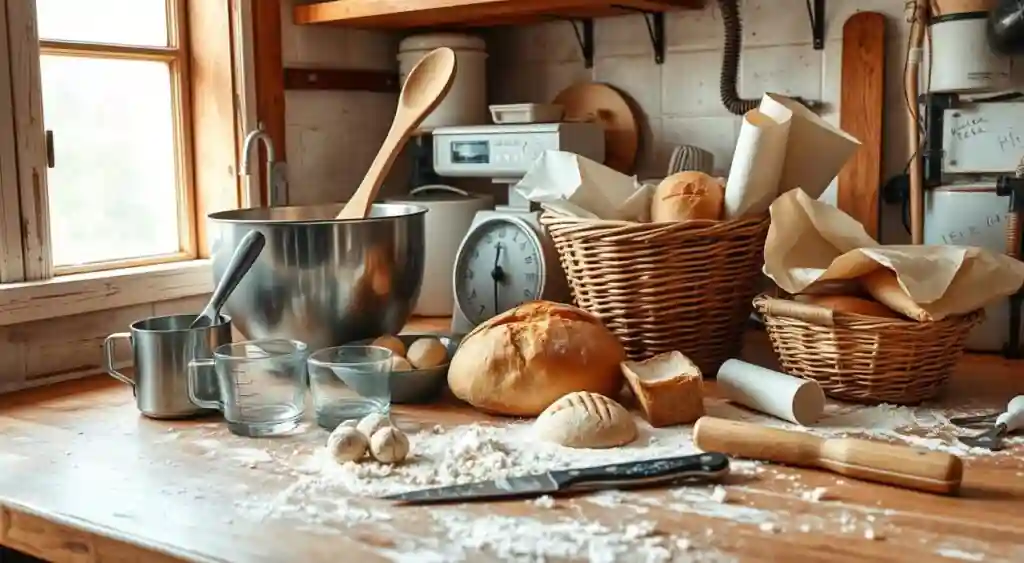
- Large mixing bowl (minimum 5-liter capacity)
- Measuring jug (1-liter capacity)
- Bread lame or small serrated knife for scoring
- Parchment paper
- Proofing basket (optional but recommended)
“The right tools can elevate your bread from good to extraordinary.” – Artisan Baking Experts
Pro tip: Invest in quality baking tools that will last. While some equipment might seem expensive initially, good bread baking equipment pays for itself in delicious results.
Step-by-Step No-Knead Dough Preparation
Making delicious homemade bread is easy. This simple recipe changes traditional baking. It’s a no knead bread recipe that’s easy for anyone to do. Let’s go through the steps to make your artisan dough.
First, gather your ingredients. You’ll need:
- 390g (3 cups) of bread flour
- ¼ teaspoon of instant yeast
- 1¼ teaspoons of fine sea salt
- 320g (about 1 1/3 cups) of lukewarm water
The key to great no knead bread is in how you mix it. Start by mixing dry ingredients. Then, add lukewarm water slowly. Mix until you get a sticky dough. You don’t need to knead a lot – just mix until everything is combined.
“Simplicity is the ultimate sophistication in bread making” – Artisan Baking Wisdom
Next, cover your bowl with plastic wrap. Let the dough rest. The magic happens during a long, slow fermentation – usually 14 hours overnight. This makes your bread rich in flavor and gives it that artisan texture.
After resting, do gentle folds to build gluten. The dough will get smoother and more elastic. This gets it ready for the final proofing. Remember, patience is key for a perfect artisan loaf.
Pro tip: Keep your dough in a warm, draft-free place during rising. The right temperature helps yeast work its magic. This turns simple ingredients into a beautiful, crusty loaf.
Mastering the Art of Dough Fermentation
Bread fermentation turns simple ingredients into a delicious, airy loaf. Learning about dough proofing can make your artisan bread truly special.
Understanding Proofing Times
The time it takes for bread to rise can vary depending on several factors. Recipes and environments need different approaches. Here are some key points:
- Short fermentation: 45 minutes to 2 hours at room temperature
- Extended fermentation: 8-12 hours in the refrigerator
- Maximum dough storage: Up to two weeks when properly refrigerated
Temperature and Environment Factors
Temperature is key in dough proofing. Warmer places make dough rise faster, while cooler ones slow it down. Your kitchen’s temperature greatly affects how long it takes for bread to rise.
| Temperature Range | Fermentation Impact |
|---|---|
| 60-70°F | Slow, steady fermentation |
| 70-80°F | Moderate fermentation |
| 80-90°F | Rapid fermentation |
Signs of Properly Fermented Dough
Spotting a perfectly fermented dough is an art. Look for these signs:
- Volume increase: Dough should double in size
- Texture: Soft, wobbly consistency
- Bubbles: Small, evenly distributed air pockets
- Smell: Slightly tangy, yeasty aroma
“The true magic of bread lies in the incredible transformation it undergoes during fermentation.” – Artisan Baker’s Wisdom
Remember, patience is key in bread fermentation. Rushing it can ruin flavor and texture. So, take your time and enjoy making perfect artisan bread.
Professional Baking Techniques for the Perfect Crust
Mastering crusty bread baking is all about precision and understanding the art of artisan bread crust techniques. Professional bakers see bread making as more than just mixing ingredients. It’s an art form that requires careful attention to detail.
To get an exceptional crust, focus on a few key bread baking techniques:
- Preheat your oven to the perfect temperature
- Make sure the steam environment is right
- Score the dough with precision
Scoring is a key skill in artisan bread making. Here are some professional tips:
| Scoring Technique | Recommended Approach |
|---|---|
| Blade Angle | 90° to dough surface for clean cuts |
| Cutting Depth | Slice through dough skin without compromising structure |
| Flour Dusting | 50% white rice flour, 50% all-purpose flour |
“The perfect crust tells a story of skill, passion, and tradition.” – Artisan Baker’s Wisdom
When preparing to score your bread, keep these expert tips in mind:
- Use a straight blade for multiple small cuts
- Try a curved blade for specific design patterns
- Experiment with cross and box top designs
Nutritional insights for artisan Italian bread per 100g:
- Calories: 260 kcal
- Protein: 8g
- Carbohydrates: 50g
Creating the perfect artisan bread crust is about embracing creativity and understanding the delicate balance of technique and tradition.
Creating the Signature Rustic Appearance
Making the perfect rustic bread is an art. It turns simple dough into a work of art. The bread’s look and taste improve with special techniques.
Bread Scoring Techniques
Bread scoring is key to shaping your bread’s look. It lets you control how the bread grows and makes it look great. Bakers use special tools like bread lames to make designs that are both beautiful and useful.
- Use a sharp bread lame or razor blade for precise cuts
- Create classic patterns like the wheat stalk or diamond grid
- Angle your blade at 30-45 degrees for optimal crust development
- Practice consistent depth to ensure even bread expansion
Flour Dusting Methods
Flour dusting is vital for a rustic bread look. It adds texture and stops the bread from sticking. The right method makes your bread look authentic.
| Flour Dusting Technique | Purpose | Recommended Flour Type |
|---|---|---|
| Gentle Coating | Prevent Sticking | Rice Flour |
| Surface Decoration | Create Rustic Texture | Bread Flour |
| Pre-Bake Dusting | Enhance Crust Appearance | Semolina Flour |
“The beauty of artisan bread lies in its imperfect perfection.” – Artisan Baking Experts
Getting good at these techniques takes time and effort. Each loaf shows off the baker’s skill and creativity. It’s a story told through the bread’s look and feel.
Troubleshooting Common Baking Issues
Bread baking can be tough, even for experts. Knowing how to fix common problems helps make perfect loaves. Let’s look at key techniques to improve your baking.
“Perfecting bread is an art of patience and precision” – Artisan Baker’s Wisdom
When you face baking challenges, keep these points in mind:
- Yeast Quality: Make sure your yeast is fresh and active
- Water Temperature: Keep the water at the right warmth for yeast
- Dough Consistency: Know the right amount of water
- Proofing Environment: Control the temperature and humidity
Most problems come from these areas. For sticky dough, add flour slowly. For dry dough, add water little by little. If your bread doesn’t rise, check the yeast and water.
| Common Issue | Potential Solution |
|---|---|
| Dense Bread Texture | Make sure it proofs long enough, don’t overwork the dough |
| Lack of Rise | Check if the yeast is good, and the water is at the right temperature |
| Uneven Crumb | Keep mixing consistent, and let it ferment right |
Pro tip: A loose dough rises better than a stiff one. Watch your dough’s texture and adjust as needed.
Understanding these issues and fixing them will greatly improve your bread. Remember, practice and patience are key to mastering breadmaking.
Storage Tips and Serving Suggestions
Keeping your freshly baked artisan bread at its best needs smart storage tips. Your homemade loaf needs careful handling to keep its great texture and taste.
Maintaining Freshness
Storing artisan bread right is key to keeping it fresh. Here are some important tips:
- Store bread at room temperature in a paper bag for the best crust
- Plastic bags can trap moisture, creating an environment that encourages mold growth. It’s best to avoid using them to keep your items dry and safe.
- Wrap cooled bread in aluminum foil for short-term storage
- Freeze individual slices for easy long-term keeping
Pro tip: Sourdough bread naturally stays fresh longer because of its special bacteria, staying good for a week without preservatives.
Perfect Pairings and Uses
Bread can do more than just be sliced. It can make many dishes better:
- Create bruschetta with fresh tomatoes and basil
- Serve with hearty soups and stews
- Make gourmet sandwiches with pulled pork
- Prepare classic Italian pane e pomodoro fresco
“Great bread is the canvas for culinary creativity.” – Anonymous Baker
Pairing bread with other foods can make your meal special. Try different combinations to find your favorite ways to serve.
Conclusion
Making homemade artisan bread is more than just following a recipe. It’s a journey that connects you with Italy’s bread-making traditions. Your rustic bread recipe is a chance to explore flavors, textures, and techniques. It turns simple ingredients into a special culinary experience.
Creating authentic Italian bread takes patience, practice, and passion. By learning about fermentation and traditional methods, you’ll improve your baking. Each loaf shows your growing skill in making artisan bread.
Your journey doesn’t stop here. Keep trying new flour types, fermentation times, and baking methods. Embrace the unique qualities of your homemade bread. Remember, true artisan bread celebrates the craft, connects with ingredients, and shares delicious, handmade food with loved ones.
As you get better, you’ll see that making artisan bread is more than food. It’s about keeping a rich culinary tradition alive. It’s about the joy of turning simple ingredients into something amazing.
FAQ
What is artisan Italian bread?
Artisan Italian bread, also known as pane casereccio dei Castelli Romani, comes from the Roman Castles region. It has a perfectly crispy crust on the outside, with a soft, tender interior that melts in your mouth. It’s made with high-protein flour, yeast, sea salt, and water.
This bread is great for dishes like bruschetta and panzanella.
Do I need special equipment to make artisan Italian bread at home?
You’ll need a Dutch oven or a heavy pot with a lid, parchment paper, and a mixing bowl. An oven thermometer is also important. A stand mixer helps, but you can also mix by hand.
What type of flour should I use for authentic Italian bread?
Use high-protein flour with at least 11% protein. Italian Type 0 or Type 00 flour is best. But, be careful with Type 00 flour. Some types are for pasta and won’t work for bread.
How long does the bread-making process take?
It takes about 2-3 hours. This includes a 1.5-hour rise time. Fermentation can be flexible, from 45 minutes to 3 days in the fridge for more flavor.
Can I make this bread if I’m a beginner baker?
Yes! This no-knead method is great for beginners. It requires little kneading and uses simple ingredients. Just follow the steps, and you’ll get a delicious loaf.
How do I achieve a crispy crust?
Preheat your oven to 460°F (238°C) with a Dutch oven inside for 30 minutes. Cover the dish and bake for 30 minutes, then remove the cover and bake for an additional 15-20 minutes. The Dutch oven’s steam makes the crust crispy and golden.
How should I store my homemade artisan bread?
Store it in a paper bag at room temperature to keep the crust crispy. For longer storage, wrap it in plastic wrap or foil. Eat it within 2-3 days for the best taste and texture.
What can I serve with artisan Italian bread?
This bread is versatile. It’s good with soups, stews, as bruschetta, or for sandwiches. Try “pane e pomodoro fresco” by rubbing garlic on the bread, adding fresh tomato, salt, and olive oil.
What should I do if my dough is too sticky or too dry?
For sticky dough, add flour slowly. For dry dough, add water slowly. Make sure your yeast is fresh and water is at the right temperature. A looser dough usually rises better.
Can I add extra ingredients to the bread?
Yes! Add herbs, cheese, or other mix-ins to make your bread unique. But, don’t overdo it. Too much can affect the dough’s rise and texture.

