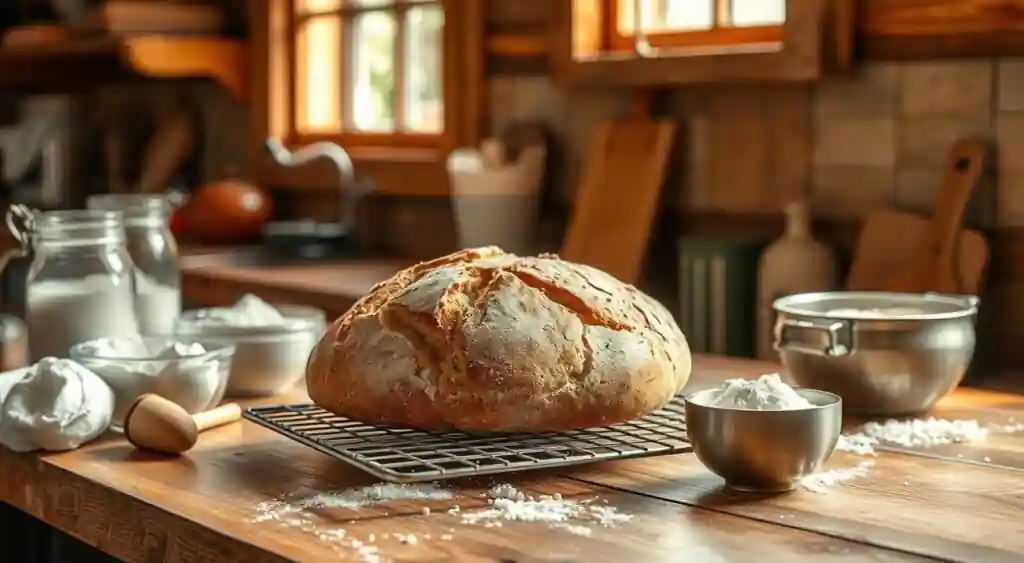
Learn to make easy 3-ingredient bread with flour, yeast, and water. A foolproof recipe for a perfect homemade loaf, no baking skills required.
Baking bread used to seem like a secret art for pros. I stood in my grandmother’s kitchen, watching her knead dough with ease. I felt intimidated by the complexity. But, I soon learned making delicious homemade bread is as simple as three ingredients.
Your search for an easy bread recipe ends here. This 3 ingredient bread turns your kitchen into a bakery. No more endless kneading or complex methods. Just simple bread-making magic for beginners.
Whether you’re new to baking or a seasoned cook, this no-knead bread will change your baking game. With just a few ingredients and easy steps, you’ll make a crusty, artisan-style loaf. It’s as good as what you’d find in a professional bakery.
Table of Contents
Key Takeaways
- Only three ingredients required for incredible homemade bread
- No complicated kneading techniques needed
- Perfect for bakers of all skill levels
- Crispy exterior with soft, delicious interior
- Budget-friendly recipe costing less than $1
Why This Simple Bread Recipe Will Change Your Life
Imagine making a tasty homemade bread with just three ingredients and little effort. This simple bread recipe is more than baking. It’s about changing your kitchen experience and connecting with old cooking ways.

Benefits of Making Homemade Bread
Making your own bread has many benefits. It’s not just about the smell of fresh bread. Here are some key advantages:
- Complete control over ingredient quality
- Elimination of artificial preservatives
- Potential cost savings compared to store-bought loaves
- Therapeutic baking experience
The Science Behind Minimal Ingredients
The magic of a 3 ingredient bread is in its simplicity. Using flour, water, and yeast, you follow a long-standing bread-making method. This method relies on natural fermentation.
| Ingredient | Quantity | Function |
|---|---|---|
| Bread Flour | 3 cups | Provides structure and protein |
| Active Dry Yeast | 1/2 tsp | Enables fermentation and rising |
| Sea Salt | 1/2 tsp | Enhances flavor and controls yeast |
Cost-Effectiveness of Home Baking
Starting a budget bread solution in your kitchen is smart. You can make a healthy loaf with a little time and basic ingredients. This approach saves money and tastes better.
Essential Ingredients for Your Perfect Loaf
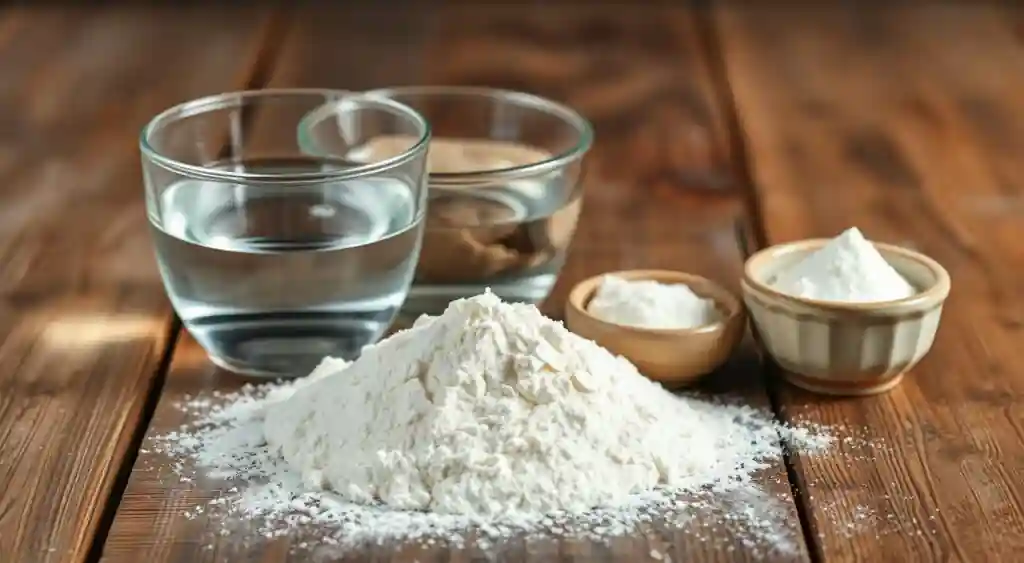
Making the perfect homemade bread begins with knowing your key ingredients. Bread flour is at the core of your recipe, providing a solid base for a tasty loaf. It has more protein than all-purpose flour, which helps create a strong gluten structure. This gives your bread a chewy texture that’s so desirable.

- Bread Flour: 3 cups of high-protein flour
- Active Dry Yeast: 1/2 teaspoon for perfect rising
- Sea Salt: 1/2 teaspoon to enhance flavor
- Warm Water: 1 1/4 cups to activate ingredients
Choosing the right flour is key. Whole wheat flour can be added up to 20% to deepen your bread’s flavor. This also speeds up fermentation and adds a richer taste.
| Ingredient | Quantity | Purpose |
|---|---|---|
| Bread Flour | 3 cups | Gluten development |
| Active Dry Yeast | 1/2 tsp | Bread rising |
| Sea Salt | 1/2 tsp | Flavor enhancement |
| Warm Water | 1 1/4 cups | Ingredient activation |
Pro tip: Use warm water between 98-100 degrees Fahrenheit to activate the yeast. This temperature is perfect for yeast to work well without being harmed.
Understanding the Magic of 3 Ingredient Bread
Baking bread can seem hard, but it’s quite simple. It’s all about the science behind it. You’ll see how three basic ingredients combine to make a tasty loaf.

The Role of Flour in Bread Structure
Flour is the base of your bread. It’s key in making gluten. When flour meets liquid, proteins form long, elastic strands. This makes your bread light and airy or dense.
- Provides structural support
- Creates elastic dough texture
- Determines bread’s final consistency
Yeast: The Magical Microorganism
Yeast makes your ingredients rise into a masterpiece. These tiny creatures eat sugars, making carbon dioxide. This makes your dough grow and adds flavor.
Salt’s Critical Contribution
Salt does more than add taste. It controls yeast and strengthens gluten. A little salt can greatly improve your bread’s quality and texture.
Knowing how these ingredients work together makes baking an art. You can make delicious bread with just a few simple steps.
Required Kitchen Tools and Equipment
To bake the perfect homemade bread, you need a few key tools. These tools will turn your kitchen into a real artisan bakery. Start your journey to a delicious loaf by having the right equipment ready.
- Large mixing bowl for combining ingredients
- Wooden spoon or dough whisk for mixing
- Parchment paper for easy bread transfer
- Dutch oven or baking stone for perfect crust
- Kitchen scale for precise measurements
Choosing between a Dutch oven or a baking stone is key. A Dutch oven traps steam, giving you a crispy outside and soft inside. A baking stone, on the other hand, makes your crust like a bakery’s at home.
| Tool | Purpose | Recommended Size |
|---|---|---|
| Mixing Bowl | Ingredient combining | 4-6 quart capacity |
| Dutch Oven | Baking bread | 5-6.5 quarts |
| Baking Stone | Crispy crust development | 16×14 inches |
| Kitchen Scale | Precise ingredient measurement | Digital, 11 lb capacity |
Pro tip: Tools like a bread lame or sharp knife for scoring and a kitchen thermometer can improve your bread-making skills.
Step-by-Step Mixing Process
Making the perfect bread starts with mixing the dough. This step turns simple ingredients into a delicious loaf. It fills your kitchen with warmth and a great smell.
Proper Ingredient Measurements
When measuring flour, be precise. A kitchen scale gives the most accurate results.
This guarantees that your bread will come out perfectly every time. For this recipe, you’ll need:
- 3 1/4 cups (460g) bread flour
- 2 teaspoons instant yeast
- 2 teaspoons coarse salt
Combining Techniques
Mixing dough needs a gentle touch. Begin by combining the dry ingredients in a large bowl. Make a well in the center and add warm water (around 105°F).
| Mixing Stage | Key Actions | Duration |
|---|---|---|
| Initial Mixing | Combine ingredients until loosely incorporated | 2-3 minutes |
| Autolyse | Let flour and water rest | 20-30 minutes |
| Final Mixing | Develop gluten network | 5-7 minutes |
Visual Cues for Perfect Dough
Look for a shaggy dough texture. It should be wet and slightly sticky. If it’s too wet, add flour slowly. Aim for a dough that’s soft but not too wet.
Your dough is ready when you can stretch a small piece of it between your fingers, and it forms a thin, translucent windowpane without tearing. A small piece stretched between your fingers should be thin and clear without breaking.
The No-Knead Method Explained
Mark Bittman introduced Jim Lahey’s no-knead bread recipe in 2006. This method changed home baking by skipping kneading. It uses a long fermentation to make bread with rich flavors and perfect texture, all with little effort.
The no-knead method is based on autolysis. This process breaks down flour proteins naturally. Letting the dough rest for 12-24 hours helps gluten develop, making the bread professional-quality.
- Minimal hands-on time required
- Develops complex bread flavors
- Perfect for beginner bakers
- Creates artisan-style texture
The ingredients for this method are simple:
- 3 cups all-purpose flour
- 1/4 teaspoon instant yeast
- 1.5 teaspoons salt
- 1.5 cups water
This long fermentation turns simple ingredients into amazing homemade bread. It lets the dough rest and develop slowly. This creates a loaf with deep flavors and a crust like a pro’s, all without kneading.
Mastering the Rise Time
Bread dough fermentation turns simple ingredients into a tasty loaf. Learning about dough rising tips can make your baking better.
Proofing bread needs patience and careful attention. Your 3-ingredient bread should rise for 12-18 hours at room temperature. This time lets the flavors grow and the texture become complex.
Temperature Considerations
The temperature where your bread rises affects its taste and texture. Here are some temperature tips for bread dough fermentation:
- Room temperature (68-72°F): Best for rising
- Below 65°F: Use a turned-off oven with a light on
- Above 75°F: Can cause over-fermentation
Visual Indicators of Proper Rising
Knowing when your dough is perfectly risen is key. Look for these signs:
| Stage | Characteristics |
|---|---|
| Initial Rise | Doubled in size, surface bubbly |
| Second Rise | Puffy, slightly wobbly when moved |
| Ready to Bake | Volume increased, soft and airy |
After the first rise, shape your dough and rest it for 20-30 minutes before baking. This final step makes your loaf light and airy.
Dutch Oven vs. Baking Stone Methods
To make perfect crusty bread, you need to know two key baking methods: Dutch oven and baking stone. Both are great for home bakers wanting to make professional-quality loaves.
Dutch Oven Bread Baking
The Dutch oven method is amazing for bread. It traps steam in a preheated cast-iron pot, making the crust crispy and golden. This method is like a commercial steam oven, helping your bread rise well.
- Preheat the Dutch oven at 450°F for 30 minutes
- Carefully transfer the dough into the hot pot
- Bake covered for 30 minutes
- Uncover for an additional 15 minutes to crisp the crust
Baking Stone Technique
The baking stone method is another way to make crusty bread. It gives great heat distribution, like a professional baker’s oven. Baking stones are perfect for even browning and a good rise.
- Preheat the stone to a high temperature
- Use parchment paper for easy dough transfer
- Add steam to the oven for enhanced crust development
- Produces evenly browned bread with a crisp exterior
Experts suggest using the Baking Shell as a new way to bake bread. It’s light, efficient, and creates perfect steam for bread. Studies showbread baked on a stone has better rise and browning than baking sheets.
Choosing Your Method
Both Dutch oven and baking stone can make your homemade bread amazing. Your choice depends on what you have in your kitchen, what you like, and the bread texture you want. Try both methods to find your favorite way to make crusty bread.
Creating the Perfect Crust
Making a delicious bread crust is an art. It turns your homemade loaf into something amazing. Learning how to score and steam bake will make your bread stand out.
Steam Baking Secrets
Steam is key to getting that bakery-style crust. Bakers use special tips to get it just right:
- Add 1 cup of boiling water to a preheated cast-iron pan
- Place 5-6 ice cubes directly in the oven when adding the bread
- Use a spray bottle to mist water inside the oven during initial baking
Bread Scoring Techniques
Bread scoring is more than looks. It helps the bread expand evenly and look great:
- Allow even expansion during baking
- Create an attractive pattern on the finished loaf
- Control the bread’s rise and shape
| Scoring Tool | Best Used For | Difficulty Level |
|---|---|---|
| Sharp Knife | Beginners | Easy |
| Bread Lame | Professional Look | Intermediate |
| Razor Blade | Precise Cuts | Advanced |
For the best results, make 3-4 diagonal slashes about 1/2 inch deep. Practice makes perfect in bread scoring and steam baking.
Temperature and Timing Guide
Mastering the bread baking temperature and timing is key to making a delicious homemade loaf. The journey from raw dough to golden-brown bread needs precise temperature control and careful timing.
Knowing the critical temperature ranges can change your bread-baking experience. Here are the key temperature milestones to watch:
- Yeast activation: 110°F to 130°F
- Ideal fermentation temperature: 85°F
- Recommended baking temperature: 450°F
- Internal bread temperature for doneness: 190°F
Your bread’s internal temperature is the ultimate sign of perfect baking. Lean dough breads should reach 190-210°F, while enriched doughs are typically done at 180-190°F. A reliable instant-read thermometer is your best kitchen friend for consistent results.
| Baking Stage | Temperature | Time |
|---|---|---|
| Proofing | 85°F | 1-2 hours |
| Baking | 450°F | 25-30 minutes |
| Cooling | Room temperature | 30-60 minutes |
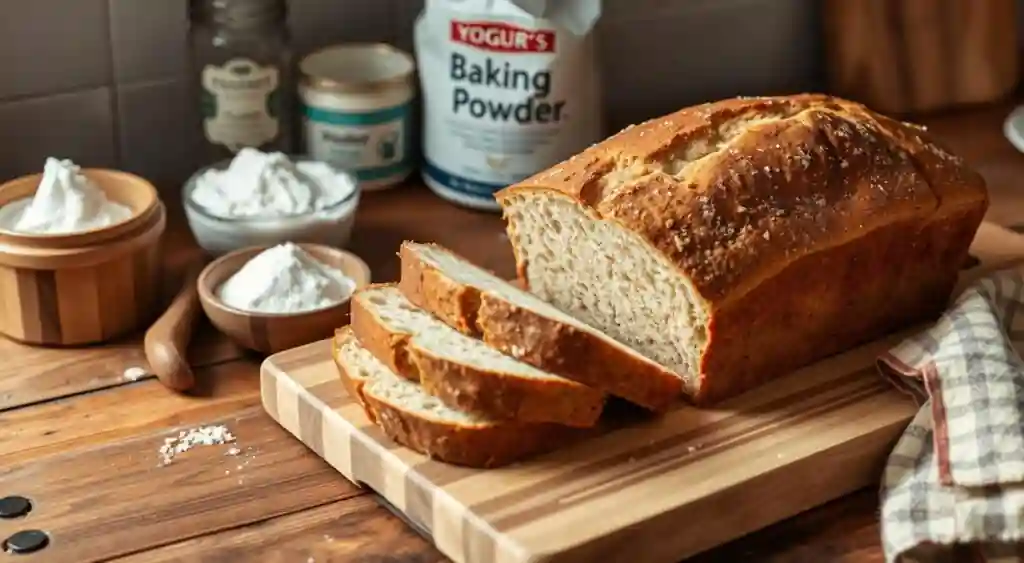
Once your bread is baked, allow it to cool completely on a wire rack before slicing. This helps it firm up and enhances the texture. This resting period helps set the crumb and ensures the best texture. Cutting too soon can result in a gummy, dense interior.
Remember, bread baking is both an art and a science. Pay attention to your dough’s signals, use a thermometer, and trust your instincts to create the perfect loaf every time.
Troubleshooting Common Issues
Baking bread can be tricky, but knowing common problems helps. Bread troubleshooting is key to becoming a better baker. Let’s look at common bread issues and how to solve them.
Texture Problems: Solving Dense and Sticky Dough
Fixing bread problems often starts with dough texture. Dense bread comes from under-rising or too much flour. To avoid this:
- Proof dough for 90 minutes to ensure proper rising
- Measure flour by weight, not volume
- Use a kitchen scale for precision
For sticky dough, add flour slowly. Remember, texture is key to perfect bread.
Rising Challenges: Temperature and Environment
Bread baking issues often come from bad rising conditions. Here’s how to create the best environment:
- Maintain room temperature between 75°F and 85°F
- Use the oven-light method for consistent warmth
- Check yeast activation with water between 105°F and 115°F
Crust Concerns: Achieving the Perfect Golden Brown
Crust problems can ruin your bread baking. Here’s how to get the perfect crust:
| Crust Issue | Solution |
|---|---|
| Pale Crust | Bake longer at 350°F |
| Dark Crust | Lower oven temperature |
| Tough Crust | Add steam during baking |
Bread baking is an art that needs patience and practice. Don’t get discouraged by early failures. Each loaf brings you closer to mastering homemade bread.
Storage and Freshness Tips
Keeping your homemade bread fresh is all about smart storage. The right methods can make your loaf last longer. This way, you can enjoy every slice at its peak.
Temperature and the type of container you use are key. Check out these handy tips for keeping your bread fresh longer!
- Room Temperature Storage
- Store cooled bread in a paper bag for optimal crustiness
- Keep bread in a cool, dry pantry
- Consume within 2-3 days for best taste
- Freezer Storage
- Wrap bread tightly in freezer-safe bags
- Freeze for up to 3 months
- Slice before freezing for easier portioning
Different bread types need different storage methods. Crusty loaves can last up to six days. Softer breads dry out in 1-2 days. Sourdough stays fresh for about five days thanks to its enzymes.
Want to revive stale bread? Sprinkle water on the crust and warm it in a 300°F oven for 7 minutes. It’s like having fresh bread again!
Avoid using plastic bags, as they can make your bread’s crust soft. Instead, use breathable cotton or linen bags. They help keep the right moisture balance.
Variations and Flavor Additions
Turn your basic 3-ingredient bread into a culinary adventure. Explore many artisan bread recipes and flavor variations. With just a few creative additions, your simple loaf can become a masterpiece.
- Savory Options:
- Aged cheddar and fresh thyme
- Roasted garlic and rosemary
- Sundried tomatoes and black olives
- Cracked black pepper
- Sweet Variations:
- Dark chocolate chips
- Dried apricots
- Honey and orange zest
- Cinnamon and raisins
When trying new flavors in bread, keep these tips in mind:
- Add mix-ins during the initial mixing stage
- Use about 1/2 cup of extra ingredients
- Gently fold in extras to avoid overworking the dough
| Flavor Category | Recommended Additions | Suggested Pairing |
|---|---|---|
| Cheese Lovers | Gruyère, Parmesan, Cheddar | Wine, charcuterie board |
| Herbal Delight | Rosemary, Thyme, Dill | Olive oil, salad |
| Sweet Indulgence | Chocolate chips, Dried fruits | Coffee, dessert wine |
Every bread variation brings a unique taste. Don’t be afraid to experiment and find your favorite flavor! The trick is to add ingredients without ruining the bread’s texture.
Conclusion
Making easy homemade bread turns your kitchen into a personal bakery. This simple recipe lets you make artisan bread at home with just a few ingredients. You’ll impress everyone with your skills.
This three-ingredient method is easy and fun. It’s perfect for beginners or anyone who wants a quick bread fix. With each loaf, you’ll get better and try new things.
Homemade bread is more than a skill; it’s a way to connect with tradition. Making this simple recipe brings joy and satisfaction. Your kitchen will smell amazing, and you’ll feel proud to serve fresh bread.
Bread making is a journey, not a one-time thing. Every loaf teaches you something new. Start simple, keep practicing, and watch your skills grow into a fun adventure.
FAQ
How much yeast do I need for this 3 ingredient bread recipe?
You’ll need just 1/2 teaspoon of active dry yeast for the entire recipe. This small amount works because of the long fermentation process. It allows the yeast to develop flavor and help the bread rise slowly over 12-18 hours.
Is it okay to substitute all-purpose flour for bread flour?
Yes, you can use all-purpose flour, but bread flour is recommended for best results. Bread flour has a higher protein content. This helps develop better gluten structure and creates a more robust texture in your final loaf.
What if my dough is too sticky?
If the dough is too sticky to handle, gradually add more flour, about a tablespoon at a time. The dough should be somewhat wet and shaggy, but manageable. Using a light dusting of flour on your hands can also help with handling.
How long does the bread stay fresh?
Store the cooled bread in a paper bag at room temperature for up to 3 days. For longer storage, you can freeze the bread for up to 3 months in a freezer-safe bag. To refresh, warm the bread in a 350°F oven for 5-10 minutes before serving.
Can I add extra ingredients to the basic recipe?
Absolutely! You can experiment by adding herbs, cheese, olives, nuts, or other mix-ins to the dough. Try different types of flour like whole wheat or rye for unique flavors. Or create variations like focaccia by pressing the dough into a baking sheet and adding toppings.

